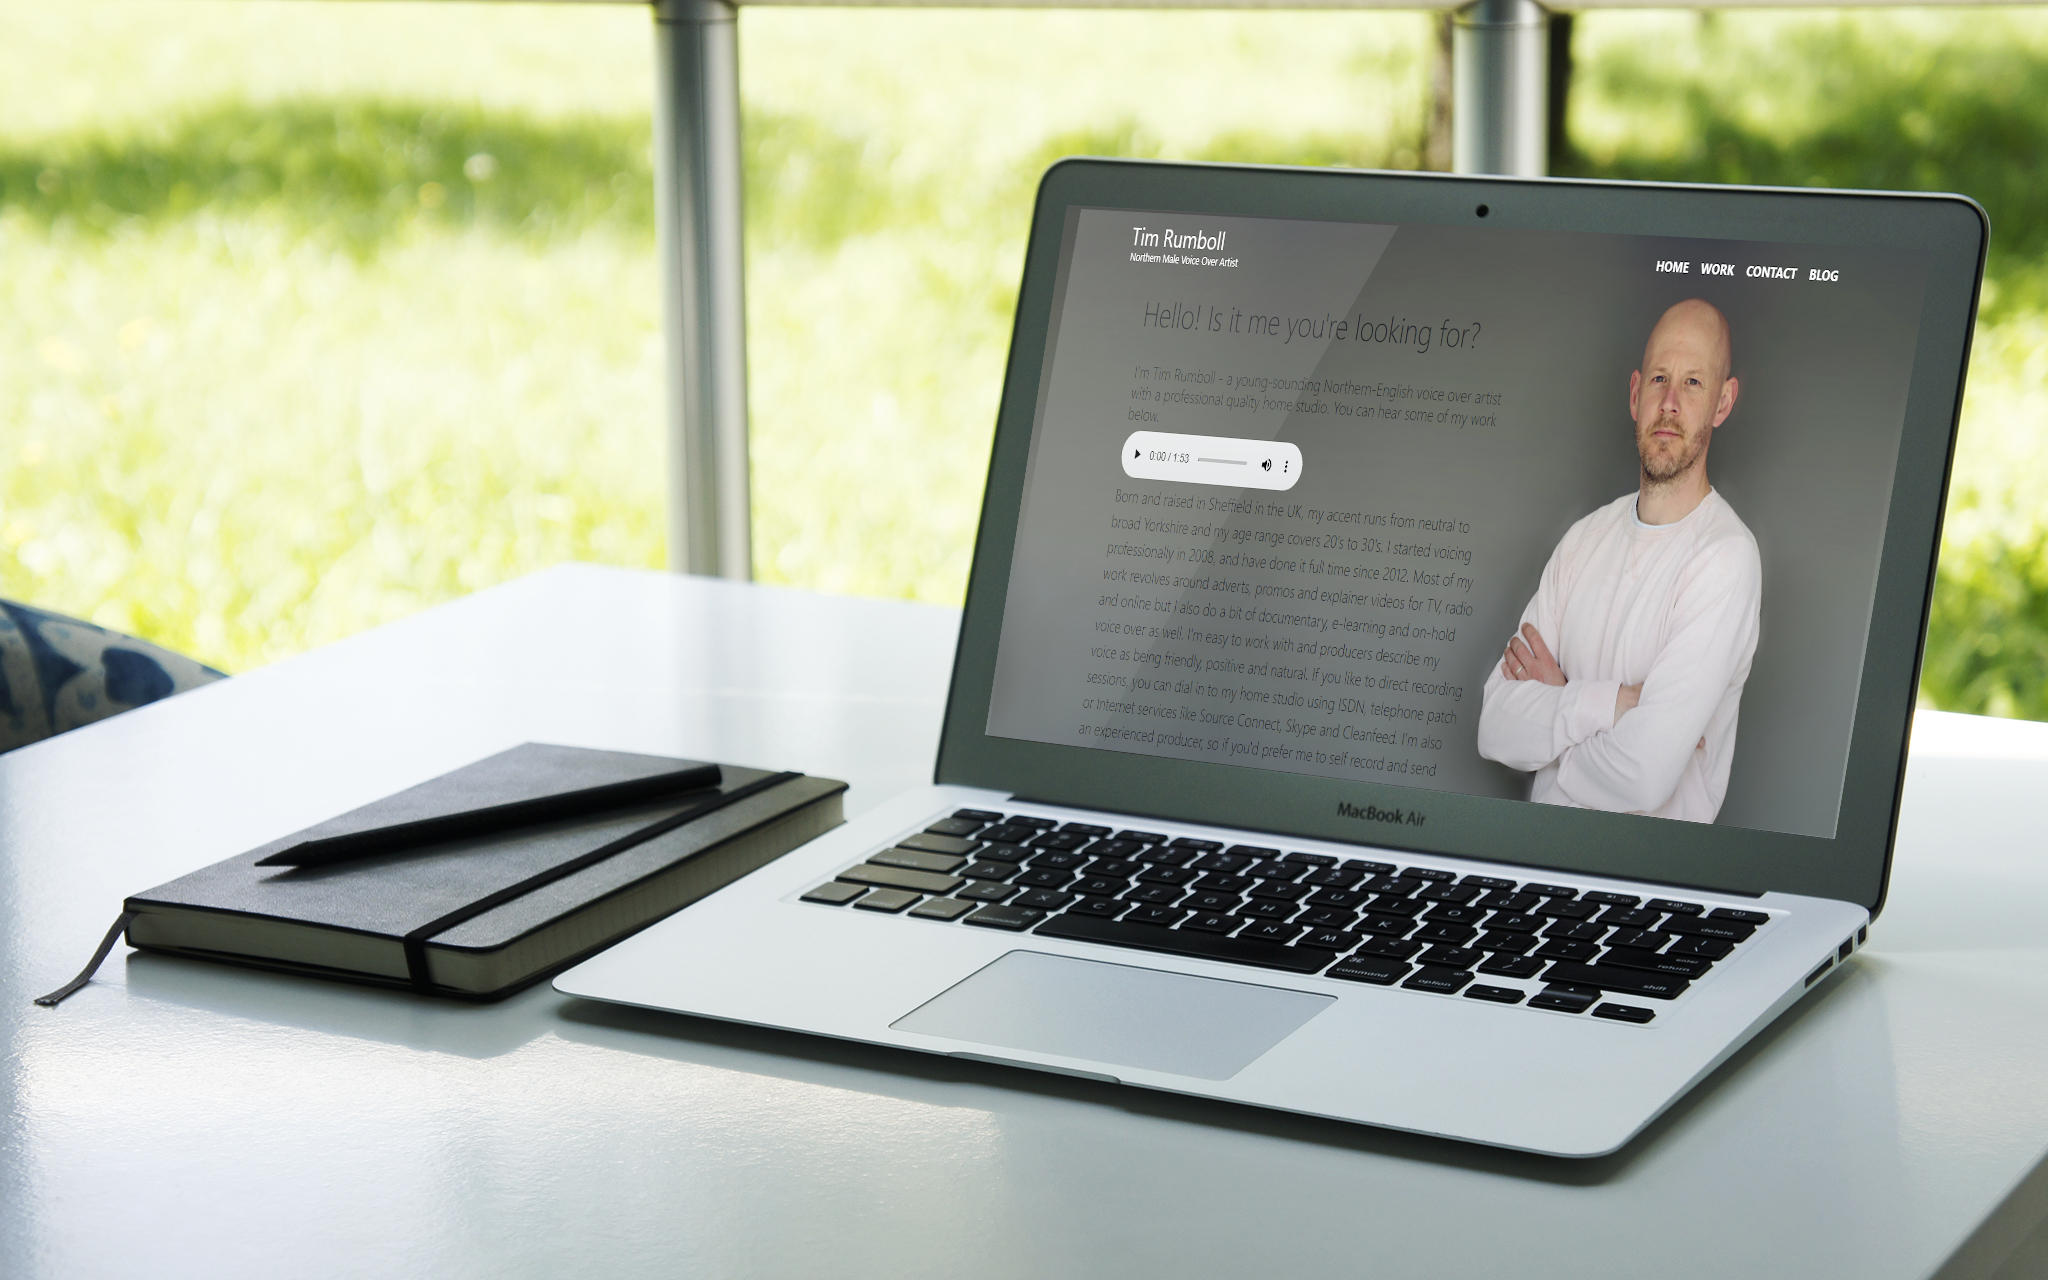
What goes into building a professional-quality home-studio for voice overs

Lots of voice over artists are now working out of home studios as the desire to be in enclosed spaces with multiple people and limited ventilation, has been somewhat reduced by the COVID-19 pandemic.
But what exactly is a home studio? What equipment do you need for recording professional voiceovers? Why do some cost tens of thousands and others a few hundred pounds? And why do some sound so much better than others?
Well, there’s quite a lot to unpack in those questions but the first thing you need for a home voice over studio is a quiet room. Depending on where you live and the quality of your double glazing, that might just be a room in your house. If you live somewhere a bit noisier you’ll probably need some form of booth or a room within a room.
These voiceover booths are available to buy from places like StudioBricks, WhisperRoom, you can use a company to build a bespoke booth for you or you can build one yourself. If you want to find out more about booth construction, you can find some information on mine in another blog article. For me though I had bespoke booth built which blocks out virtually all external noise. Neighbour at it with his circular saw AGAIN? No problem. The only thing that it can’t quite stop is my dog. Who knew that a Border Terrier’s bark had such penetrative power!?
The next thing to consider is room treatment. I go into this in more detail in the booth construction post but it basically involves putting sound absorbing material on the walls, ceiling and other hard surfaces to stop sound bouncing off them and making it sound like you’re in a cupboard. No one wants a voice over who sounds like they’re in a cupboard. Unless they’re recording a radio advert for a cupboard making company. And even then, it’s unlikely they would want the voice over to sound like they were actually inside the cupboard… but I digress.
You can buy unbranded sound-absorbing foam tiles from places like Ebay and Amazon but the better ones come from companies like Studiospares. These are generally denser and much better at absorbing lower frequencies so will sound better. They are however more expensive. My favourite option for sound absorbtion is 10cm deep 60Kg/m3 Rockwool panels as I think that offers the best sound absorbtion for voice overs for the lowest cost (and take up the least amount of space). If you want to get really fancy (which I confess, I do), you can place a diffraction diffuser over the front which improves the sound of the high end and makes everything sound more spacious.
So you have your booth and your room treatment. What’s next? That would be your microphone. There are literally thousands of different mics ranging in cost from a few pounds to tens of thousands of pounds. The best value mics tend to sit in the middle of that range and very good results can be obtained with mics costing from a couple of hundred pounds upwards.
Because I want my home studio to sound as good as a high-quality commercial studio, I use a Neumann U87 as my main voice over microphone. The reason I use it is it sounds great, is a recognised industry standard mic and it should last me forever. I’ve used lots of other microphones along the way though and will go into more detail about these in another blog post.
The next link in the chain is the microphone pre-amplifier (or mic pre for short). Again, there are hundreds of different preamps and most audio interfaces (which allow you to record audio on your computer) have inbuilt mic-pre’s. The quality of these preamps varies massively but as technology has improved over the years, most audio interfaces costing £100 upwards will have usable mic pres. I’m not saying they’ll sound amazing but they’re good enough to do professional work.
So why have I gone for a Neve 1073 as my preamp? Because I’m a nerd basically. No that’s not the reason. Whilst the Neve 1073 is expensive, it’s also the worlds most popular preamp that’s used in the best studios around the world. This means I know I can give my clients the same quality sound they’d get from high-end studios makes the cost worth it to me. Again though, it isn’t necessary to have this equipment to do professional work - I still made my living as a voice over artist when I was using cheaper equipment. It just feels better now knowing I’m not making compromises.
The last link in the voiceover recording chain is analogue to digital conversion (or ad conversion for short) which turns the electronic signals created by your microphone and preamp into digital audio that your computer can record and playback. This has probably the smallest effect on the overall quality of your sound but if you read the threads on Gearslutz you wouldn’t believe that to be the case (those guys really care about conversion). In short, most interfaces costing £100 upwards will give you decent ad converters. I use an Audient ID22 which for me offers the best sounding conversion I’ve heard in a mid-range audio interface (and it has two excellent pre-amps). If I was going to upgrade, it would probably be to something like Mytek but at the moment I’m happy with the Audient. So that’s what’s gone into my voiceover studio. It took me a long time to get here, with lots of different mics, interfaces and booths along the way but I’d say I’m really happy with what I’ve got.
I love the security of knowing my studio is sound-proof so recording sessions can’t be affected by outside noise. The Neumann U87 is a great voiceover microphone, I love the character of the Neve 1073 mic preamp and the Audient ID22 is a great audio interface.
Thanks for reading.
Explore more like this
What goes into a voice over booth
There are a number of elements that each play a part in me being able to produce professional quality voice over recordings from my home studio. One of the most...
Voiceover microphones I've known and loved
Choosing a voice over microphone for your home studio can be a tricky decision. With so many different mic’s out there, ranging in price from a few pounds up to...
Throwback Thursday - Stoneacre Motor Group Advertising Voiceover
Stoneacre Motor Group is one of my longest standing clients with me being their brand voice over from around 2010 right up to 2022. During that time I provided radio...
Comments